Let me guess –
You’re on Facebook and suddenly you see your favorite blogger doing their latest Live. You stop and listen because it’s about something you want to learn about.
I don’t know about you, but I love watching Facebook Live sessions and I love DOING Facebook Live sessions.
But, it wasn’t always like that.
See, I’m a complete introvert. I don’t like the spotlight. But, I knew that if I wanted to reach my audience and connect with them better, video was the way to go.
If you aren’t sure what a Facebook Live is, it’s a live video that you can do on your Facebook profile, Facebook page or Facebook group that allows you to interact with viewers.
These videos can only be a few minutes long or a couple of hours long. It’s up to you really!
Do you want to try doing a Facebook Live?
In this post, I’ll help you get started!
And, even if you’re totally scared about it, I hope I can walk you through this (holding hands with you) and encourage you on every step so that when you take the plunge it will be a fun an amazing experience!
Why Facebook Lives Are Great for *New* Bloggers
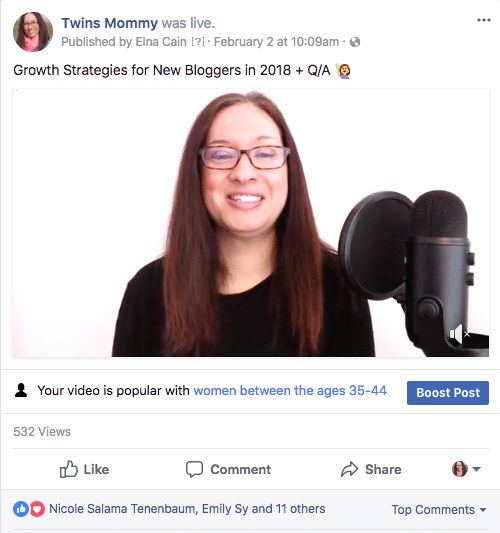
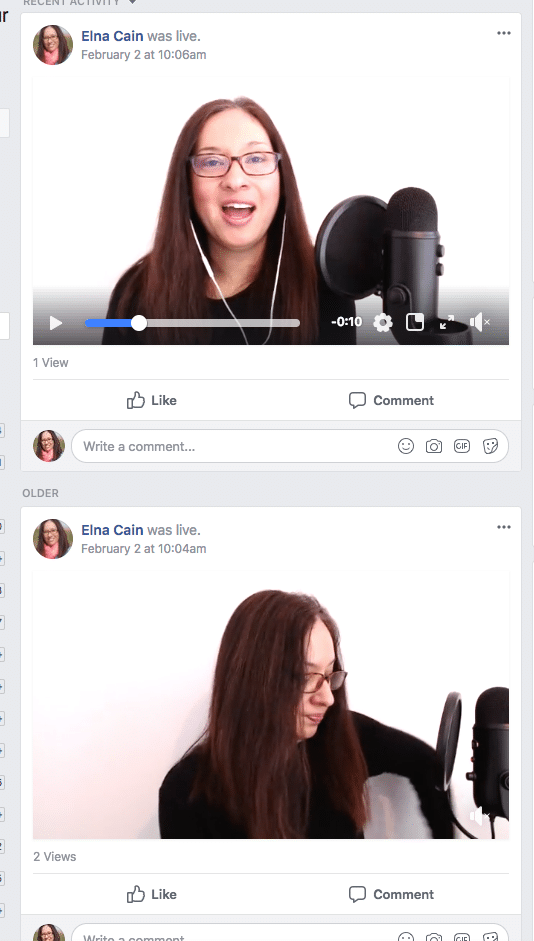
I started Facebook Lives about a year ago, but my first video was done in my private Facebook group of freelance writing students.
I felt that THEY wouldn’t make fun of me or tell me I’m horrible because they paid for my course and value me as a person.
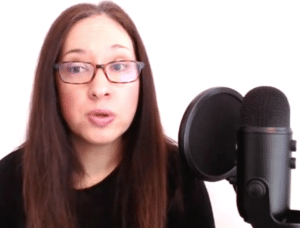
Here is what I looked like in my first Facebook Live video.

The Live was only 32 seconds!
I was nervous, scared and as you can see, had horrible lighting (because I was in FRONT of the light) and created a green halo. But the video was just an introduction to a challenge I started and my course students were excited to get started.
If you’re not sure about doing Facebook Lives, here are four reasons why you should start tomorrow!
1. You Get a Snapshot of Your Target Audience’s Problems
If you’re new to blogging, one of the biggest insights you can have is what your audience is having problems with. Once you understand that, your blog can help them solve those problems.
Doing a Facebook Live often means people commenting – during the Live or after in the replay – and you can get a glimpse of their needs.
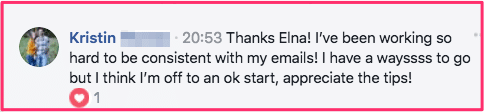
You can help them on the spot or note that challenge and write a blog post or create an email for your subscribers. It’s a great way to get some blog topics for sure if you’re in a rut!
2. Your Blog Will Have a Face
I know what you’re thinking – ahh!!! But I don’t want to show myself!
I get you!
If you don’t want to get in front of the camera, you can always show your screen. There are tools – that I will tell you about soon – that will just show your screen. So it’s almost like doing a video lesson!
In either case, getting on camera, hearing your voice and seeing you are all great things for your blog as a whole. More and more bloggers will remember your blog when they can tie it to a face.
And this is important if you’re a mom blogger. There are a TON of mom blogs out there and you have to stand out to get noticed. An easy way to do this is through video.
The way you talk, move, laugh, and look will all be cues for others to remember you by and make it easy to remember your blog.
I’m the first to say that I’m not perfect on video. I say the wrong words ALL.THE.TIME (and I remember too. For one of my Facebook Lives, I was talking about affiliate marketing. I wanted to say that I’m one of the top referrals for Tailwind – BUT I ended up saying I’m one of their top referees!).
But, that’s okay. People are mostly nice and want to hear from you and don’t mind mistakes!
3. Facebook Lives Can Help With the “Know, Like and Trust” Factor
It’s a fact that people will buy from you only if they know you, like you and trust you. If they don’t, then they probably won’t follow you, read your blog much or have any solid interest in you.
Creating that “know, like and trust” factor can be done with your blog posts – but that takes a long time.
Video, on the other hand, creates that factor much quicker.

Why is that?
Because people get to see the real you. Well, the un-edited you. At least with your blog post, you can hit back-space, but not on your Lives!
So this really shows how authentic you are, and many people gravitate toward that authenticity when following a blogger.
4. It Can Help You Make Sales
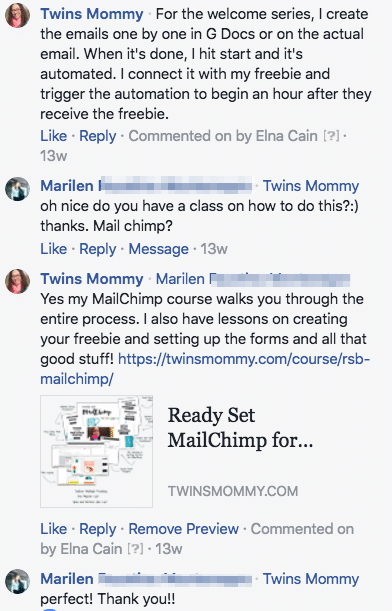
One of the great perks about a Facebook Live is that it can help create income for you. If you have a product like a course or eBook out, you can promote that in your Facebook Live.
There are different ways to do this – in the description, in your Live, or as a link in the comments – and it can be an effective method to grow your income and credibility.
I wouldn’t make every Facebook Live a way to promote your products. If you end up doing this, you will lose the trust of your followers. Instead, if the topic naturally comes up, you can mention it in your Live.
I try to make each Live filled with valuable tips to help bloggers with a challenge instead of trying to promote my courses.
Okay, so now we know why doing a Facebook Live is a great thing. Now, let’s go into tips and tricks for your first Facebook Live.
Tips & Tricks for a Stellar Facebook Live
1. Practice With a Secret Facebook Group
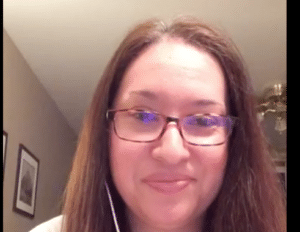
I have a “practice” Facebook group where I make sure my mic is working, the camera angle is not cutting me off and I can run through what I want to say for my Facebook Lives.
Here I am testing where I’m sitting and how I sound in a secret Facebook group.
This will help you get used to YOU on camera. A lot of people don’t like the way they sound or look on camera, so doing this dry run will make you get used to it all and tweak your presentation.
2. Start Small
Think of a quick tip you can give your followers as your first Facebook Live. It can be less than 5 minutes and you don’t even have to show your face! Some ideas can be:
- One tip to help your newborn self-soothe
- A quick tip on increasing engagement on your Facebook page
- One thing that helped your toddler listen the first time
- One fashion tip for when company comes over
- A Pinterest tip
- A blogging tip
- A great alternative ingredient in cooking
- A simple hack for organizing
3. Find a Place With Little Visual Distraction
This can be hard if there is no place except your kitchen or living room. For most of my Facebook Lives, I did exactly that. But, I found if I butt myself against one of my only white walls in my house, my Facebook Lives look better.
But, having a nice office or a nice background is also very eye-pleasing. Check out these attracting backgrounds:
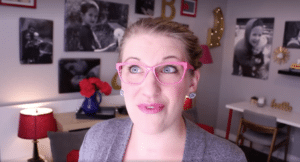
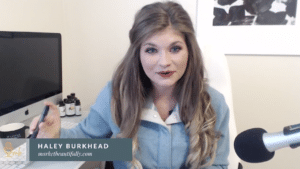
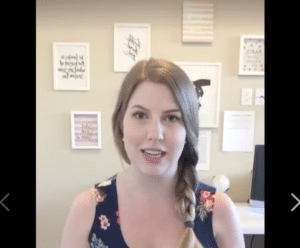
If you don’t have a nice background for your Facebook Live, that’s ok! I started in my kitchen (with bananas as my background!) and did a whole bunch of Lives that way!
4. Find a Place With Natural Light
The best looking Facebook lives are during the day with natural light. At least that is what I have found.
But, I can’t always do a Facebook Live during the day and for many bloggers, they get the biggest turn out for live viewers at night.
If that’s the case you can use special lighting. I’ve been eyeing this ring light for a while, but I’m starting to like day Facebook Lives.
5. Have Notes During Your Live
It’s okay if you read off your notes. This is exactly what I did – and am still doing – and it will help you stay on track, keep focussed and not have to worry about blanking out!
You can mention that you are using notes in your Live – that’s what I sometimes do!
Remember, you want to be natural and authentic in your Lives and notes can help you stay grounded!
6. It’s Okay to Say You’re Nervous!
Don’t feel like you have to keep your nerves from your viewers! Quite the opposite. You want to appear personable and relatable and if you are doing your first (or tenth!) Facebook Live, tell your viewers how you feel.
This also increases your “know, like, trust” factor and can help you grow your brand as a trusted brand.
Okay, now that we went through some tips to help you get started, let’s look at the equipment for a stellar Facebook Live.
Best Tools for the Perfect Facebook Live
I’ve done Facebook Lives using different devices and apps, and I finally have a system that works for me. Now, as a complete beginner, it isn’t necessary to have these items. All you need is your phone, laptop or tablet and the native Facebook app to start recording.
But, like I said, using these tools upped the professionalism of my videos, which can translate into a credibility (and income) for you.
And these tools can be used for more than just Facebook Lives!
1. Blue Yeti Microphone

Thanks Blue Yeti!
Many pro bloggers recommend the Blue Yeti as the mic for podcasting, video lessons and Facebook Lives.
I totally agree. The only drawback to using the Yeti is how sensitive it is to noise. Sometimes my laptop’s fan gets hot, making a lot of noise during my Facebook Live.
The mic picks up that noise if I’m not sitting close enough to the mic and speaking directly into the mic. But, typically, I can place my mic next to me and it picks up my voice perfectly and audibly.
I tend to sit as close as I can to my mic so that the sound is crisp. If you don’t like having to sit that close to a mic, this may not be the best investment for your Facebook Lives and course creations.
2. Logitech HD Pro Webcam, C920

It’s super easy to use; you just plug it into your laptop or computer, set you lighting and you’re good to go.
If you use Facebook to start your Facebook Live (and not use an app like I do), both your mic and camera will have to be selected before you start your Live.
What I like about the camera is how I look using it vs. not using it (the image on the right is with the Logitech webcam).
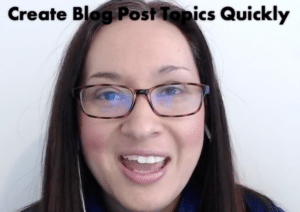
My face looks more “real” I guess. And when I can adjust the lighting with my Logitech webcam, it makes a great looking Facebook Live!
3. eCamm Live
eCamm Live is an app that you can use to quickly set up a Facebook Live.
The reason I use it is so that I can do picture-in-picture easily.
I pay for using this app (it’s very budget friendly for the new blogger) because of how incredibly easy it is to do picture-in-picture and set up my Facebook Live.
This means having a little preview of me in the corner and viewers see my screen.
It looks like this when I use eCamm Live:
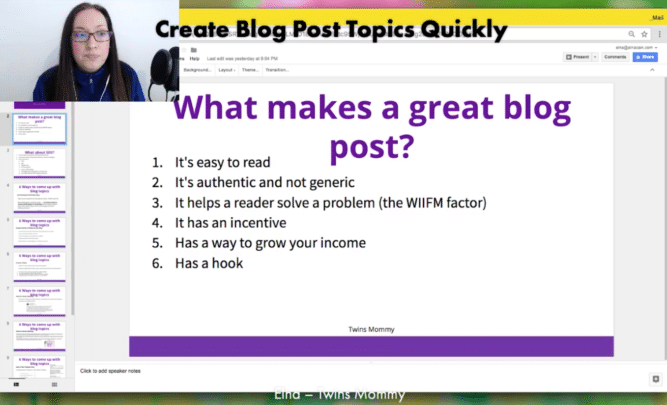
eCamm Live also lets you create a title and brand your video with your name and URL.
These two things make it easier for scrollers to see if this Facebook Live is for them and it’s a bit more professional when you can show a slide show while you talk (and if you’re scared about it all, doing this is perfect for you! Viewers will be looking at your slides!).
When you do your Facebook Live you aren’t in Facebook; you are using eCamm. The app shows comments and shows any text slides you are using.
eCamm Live is for Mac users only (sorry!) and they do offer a free trial!
Give a Facebook Live a Try!
Is one of your blogging goals to grow your blog and get noticed? Try Facebook Lives! Your followers want to SEE you and HEAR you! It’s a great way to engage with your target audience.
You can start small and simple and as you get used to doing Lives, you can try some cool tools to up the look and feel of your Lives!
Please pin me!
Tell me in the comments – have you done a Facebook Live? Do you want to do a Live? Tell me!